Introduction to DIY Home Renovations for Beginners
Chosen theme: Introduction to DIY Home Renovations for Beginners. Step into your first renovation with confidence, curiosity, and practical know-how. We’ll simplify tools, safety, planning, and easy projects so you can transform your home one satisfying weekend at a time.
Write down exactly why you want this DIY renovation: brighter light, better storage, or a welcoming entry. A short sentence on purpose keeps choices focused, prevents scope creep, and makes beginner progress measurable. Share your goal in the comments to stay accountable.
Set Your Vision and Budget
List materials, tools you must buy or borrow, and a 15 percent cushion for surprises. Compare prices online, then in-store. Beginners often underestimate consumables like sandpaper and tape. Subscribe for our starter budget template and weekly price-tracking tips tailored to first projects.
Safety Essentials for First-Time DIYers
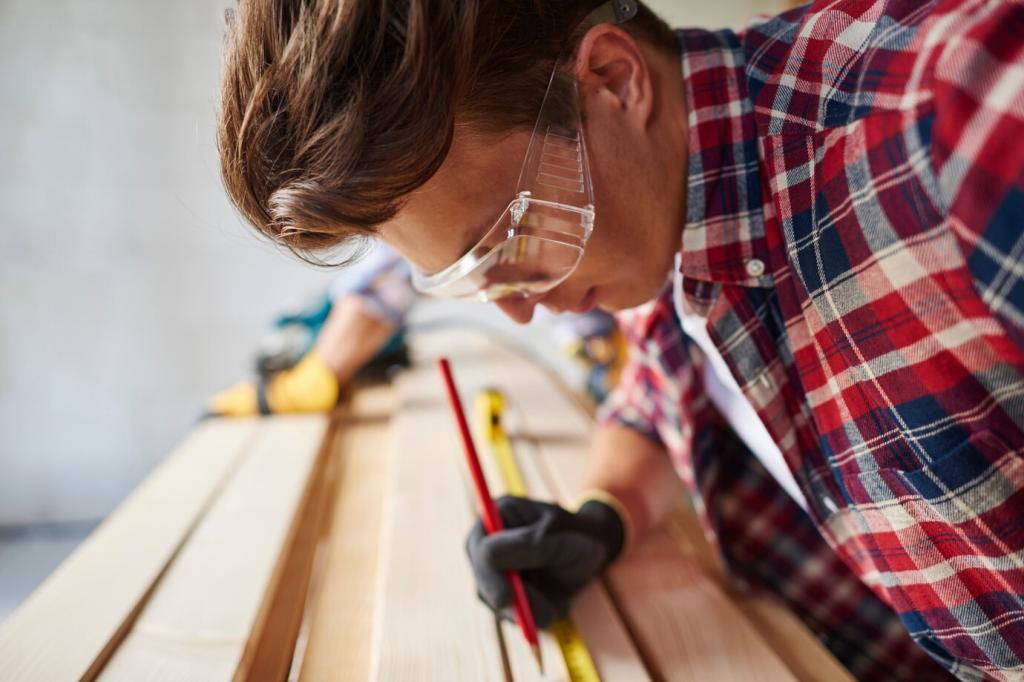
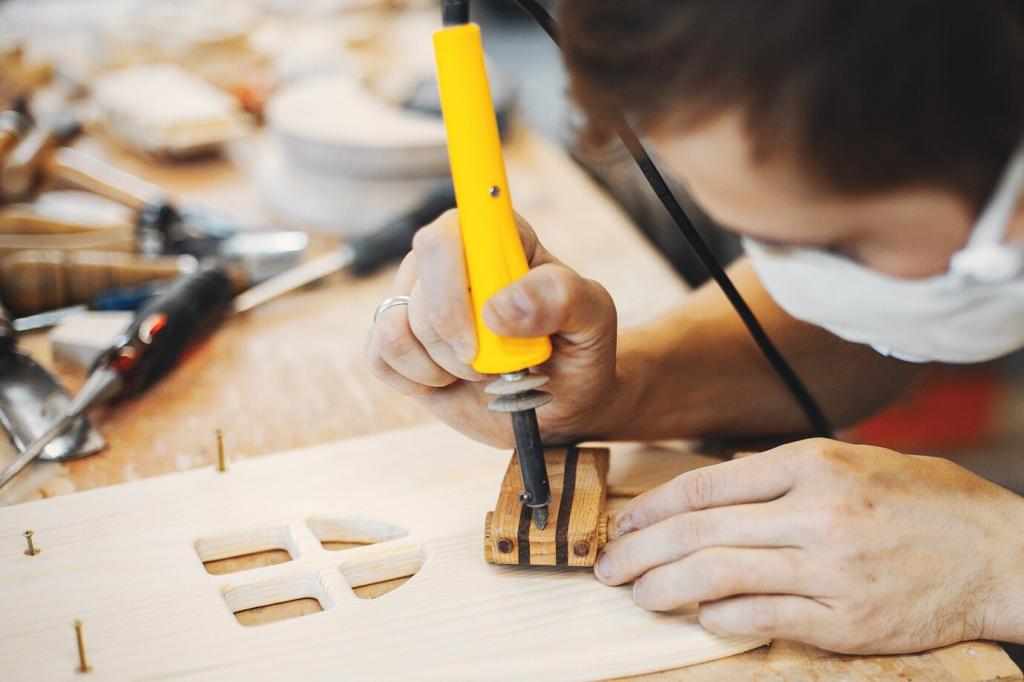
Invest in eye protection, hearing protection, a respirator with proper filters, and cut-resistant gloves. Beginners often skip masks when sanding or painting, then feel exhausted. Protect your lungs and energy. Comment if you want our printable PPE checklist for weekend projects.
Start with a tape measure, 12-inch combination square, stud finder, cordless drill/driver with bits, and a random-orbit sander. These handle hanging shelves, painting prep, and hardware swaps. Subscribe for our drill speed and clutch chart designed specifically for new renovators.
Measure twice, mark once with a sharp pencil and square. Use painter’s tape as a temporary note pad on walls. Beginners who label studs, heights, and center lines avoid patching holes later. Post your best marking trick and help fellow first-timers stay precise.
Vacuum dust from tools, charge batteries fully, and keep blades sharp. A labeled, portable toolbox encourages clean, safe habits. One beginner told us that cleaning a sander immediately cut prep time in half next weekend. Set a five-minute cleanup alarm after each session.
Beginner-Friendly Projects to Build Confidence
Wash walls, fill dents, prime stains, and cut in edges before rolling. Use a 2.5-inch angled brush and quality roller covers. A reader named Maya saved a weekend by labeling trays per color. Comment for our step-by-step checklist curated for first-time painters.
Beginner-Friendly Projects to Build Confidence
Degrease tile with TSP substitute, snap a level line, and dry-fit sheets. Warm stubborn corners with a hair dryer. This beginner project modernizes kitchens without cutting tile. Share your before-and-after photos and inspire someone planning their first rental-safe makeover.
Planning, Permits, and Hidden Costs
Cosmetic changes rarely need permits, but structural changes, electrical rewiring, and new plumbing often do. Call your local office; they genuinely want safe outcomes. Ask questions early. Subscribe for our beginner’s permit glossary so forms feel less intimidating and more manageable.
Planning, Permits, and Hidden Costs
Stage materials before starting: paint mixed, batteries charged, drop cloths down. Block tasks by drying time, not just effort. Beginners who plan overnight curing avoid rushing. Share your weekend window, and we’ll help you sequence a two-day plan with rest breaks.
Choosing Lumber and Sheet Goods
For shelves, pick straight pine or poplar and confirm boards are not cupped or twisted. Use plywood rated for interior use. Beginners learn lots by sighting edges down the aisle. Comment if you want our printable board-inspection guide to avoid returns and warping.
Match screw length to material thickness and use wall anchors for hollow drywall. Construction adhesive pairs well with mechanical fasteners. New renovators often overtighten and strip threads. Follow us for a torque-by-material cheat sheet that protects beginners from preventable mistakes.
If a wall sags, wiring looks scorched, or water stains keep spreading, pause. Take photos, gather model numbers, and consult licensed help. Comment your scenario, and we’ll suggest beginner-safe steps to stabilize things while you schedule a professional assessment.
Troubleshooting and Knowing When to Call a Pro
Drilled the wrong hole? Patch with filler, sand, prime, and repaint. Roller marks? Add extender and work in smaller sections. Beginners improve by calmly correcting errors. Share your oops moment, and join our newsletter for a monthly roundup of easy saves.